   |
|
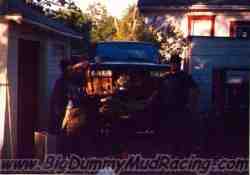
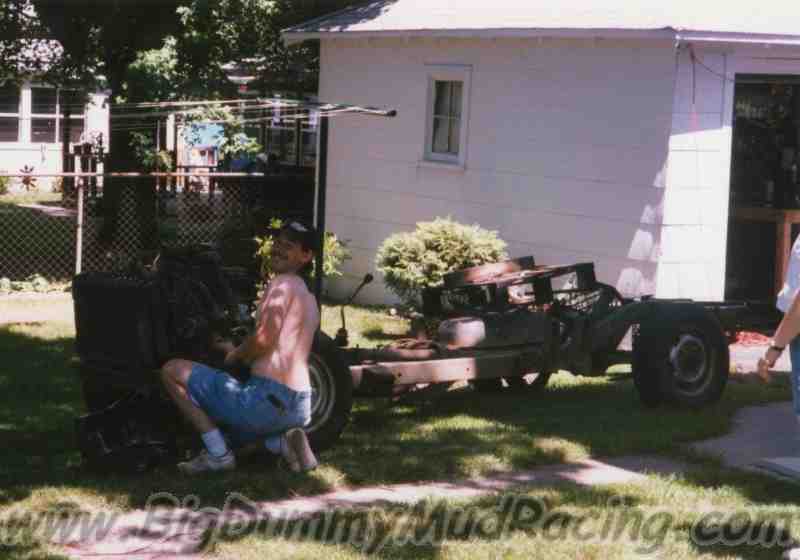
| Well, here is for the most part where we started, with a '77 Chev. Blazer. There is a pretty long story about how we actually acquired it, but no need for that here. At this point in the truck's life, it has already been delegated as an off-road only vehicle. It received a 3" body lift long before we got it. Besides that and the 35/14 tires, the body and suspension are bone stock. We did by this time drop a 350ci motor out of a '68 Corvette into it to replace the blown 400ci from the factory. We thew the biggest cam into it that the stock torque converter would handle, and also added a set of headers. That's what was in it at the time of this pic. Just before we parked it, I spent 3 1/2 hours with a pressure washer trying to get all of the mud off of it. (you will find out how successful I was soon!) |  |
Our first step was to remove the old Blazer body. After
nearly 20 years of Minnesota winters, the holes were big enough that
small children and pets shouldn't have been allowed in it anymore. Our
romping around in mudholes and off-road didn't help either. In fact, the
body mounts were so weak that the doors no longer closed. (and we were
really getting sick of bungee cords!)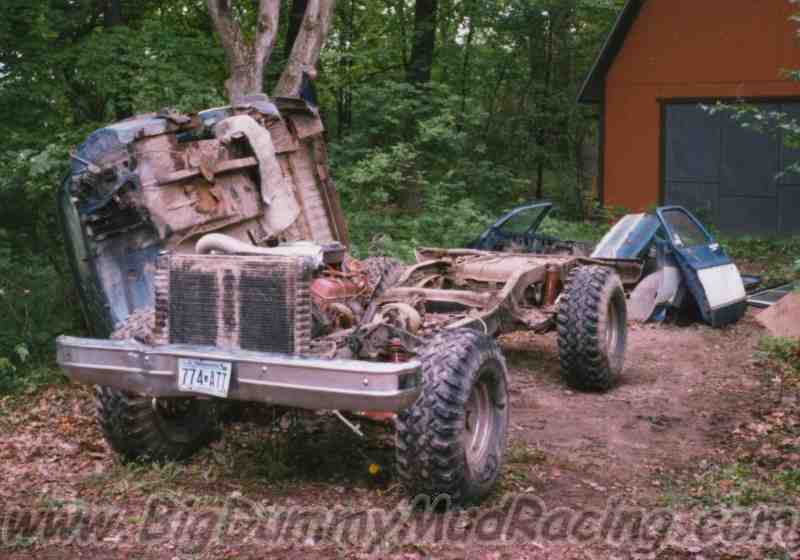  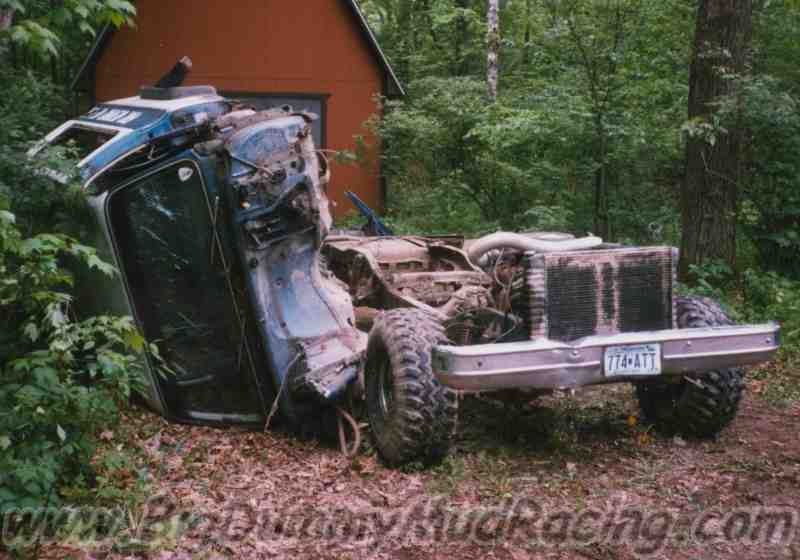 |
 |
Once the body was off, it was back to cleaning. We spent another hour and a half with the pressure washer and STILL didn't get it completely clean! |  |
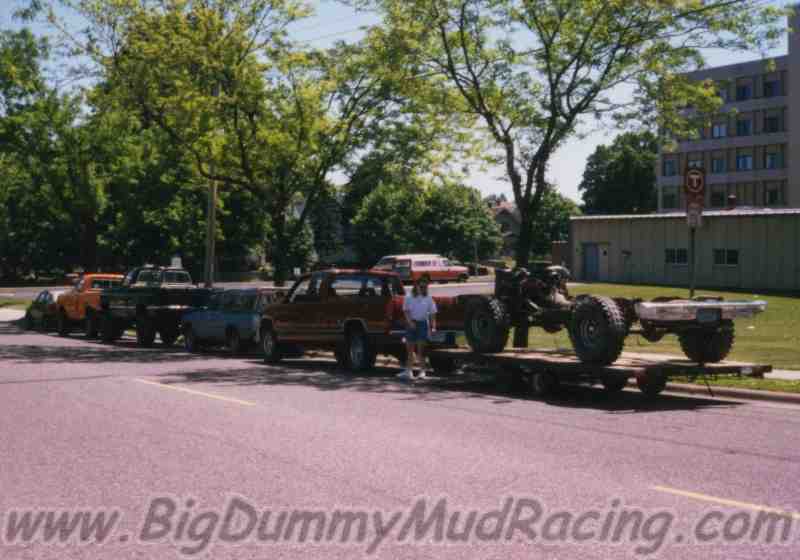  |
We then loaded the rolling frame onto a rented 4 place
snowmobile trailer for the 30 mile trip down to St. Paul, where the rest
of the work would be done. (hey, THEY SAID the trailer would be big
enough... we had our doubts! I don't think that trailers are supposed to
flex THAT much.)
These pics show the caravan once it arrived in St. Paul. |
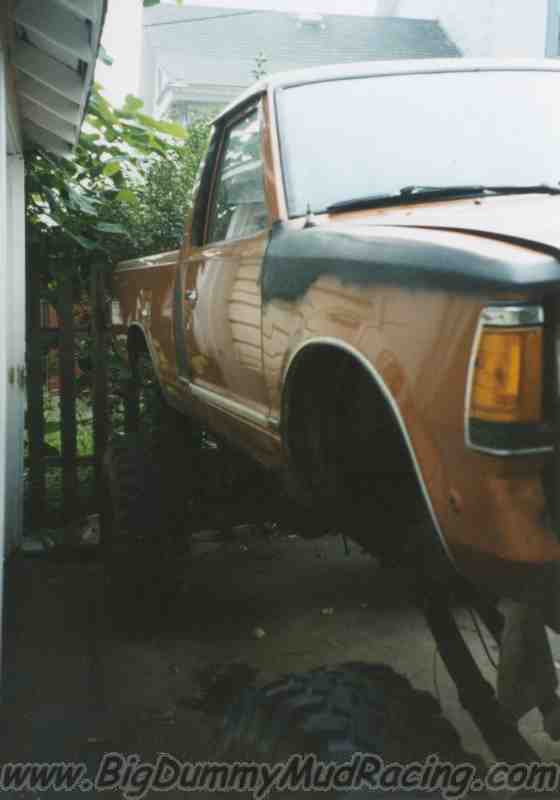
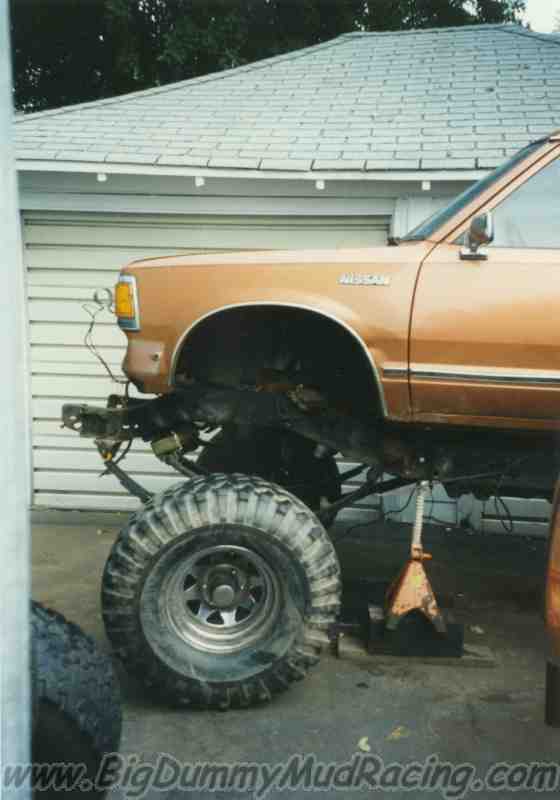
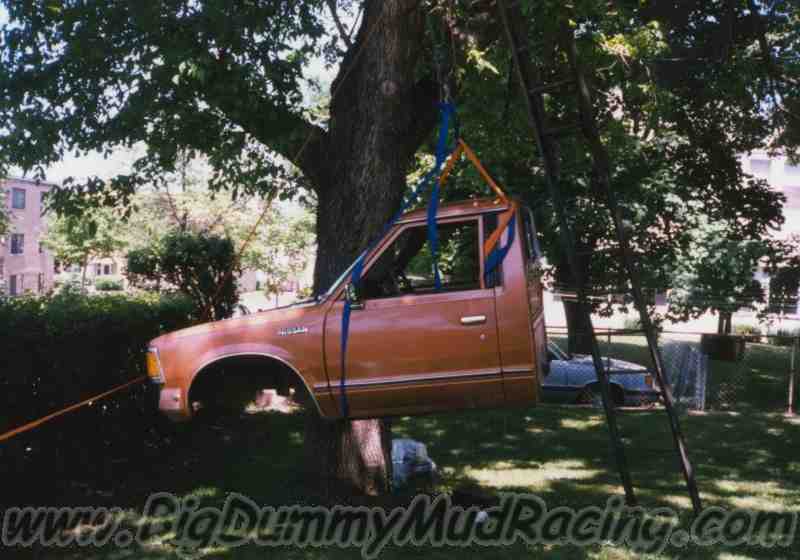
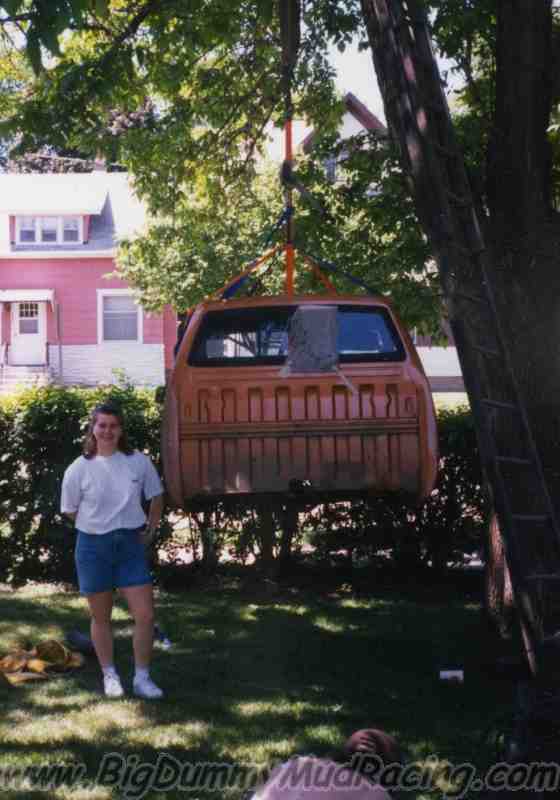
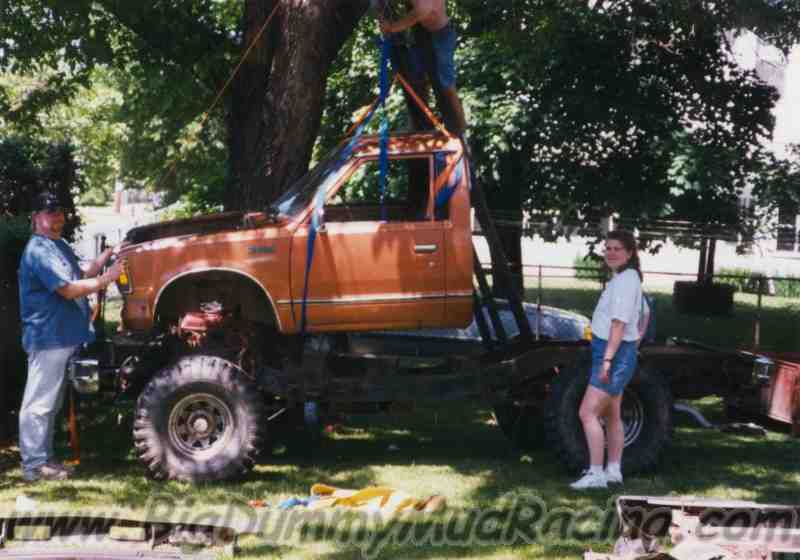
| Now that we had the frame, we needed to get the body to
put on it. It just so happened that we had an '87 Datsun pickup that was
having trouble. (I know it's a Datsun, but it was FREE damnit. These
things are supposed to cost as little as necessary... but we will
revisit that one later) So we rolled it under the elm tree in back,
hooked up a few straps and cables, and soon had the body that we needed. Then we rolled the Datsun frame out of the way. |
 |
 |
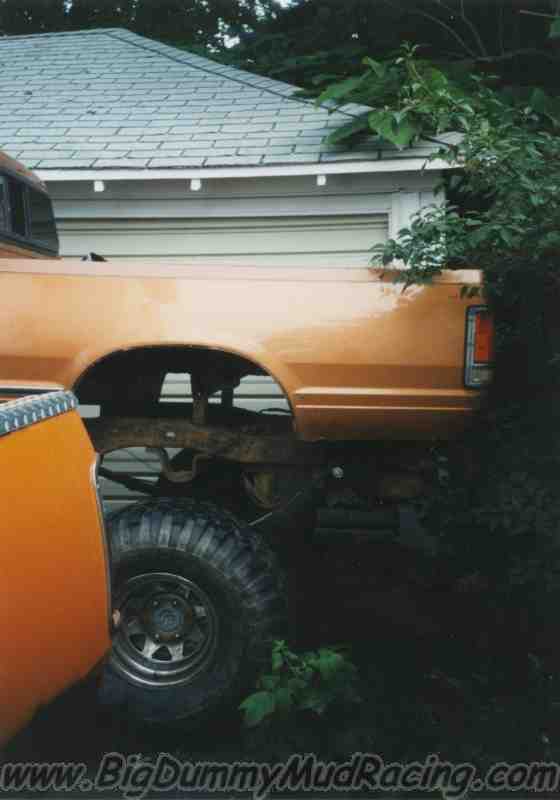
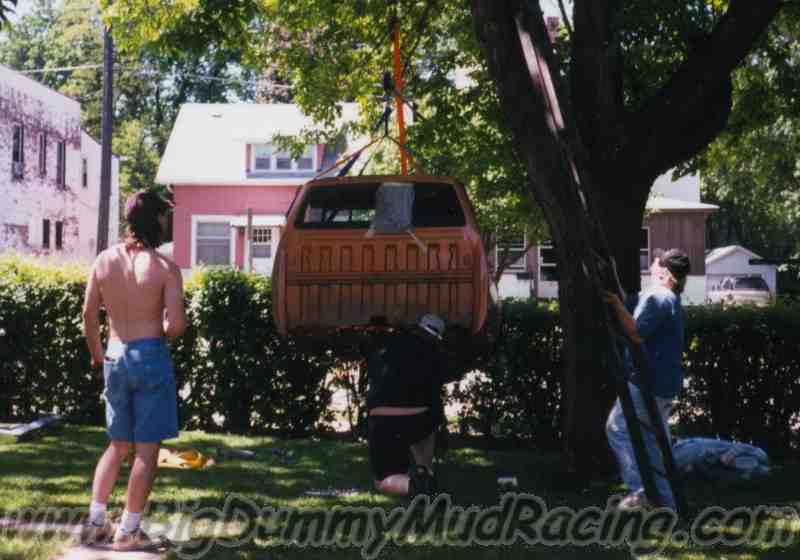
We then rolled the Blazer frame underneath the body, and carefully lowered the body onto the frame. Here you can see the spotters hard at work. | 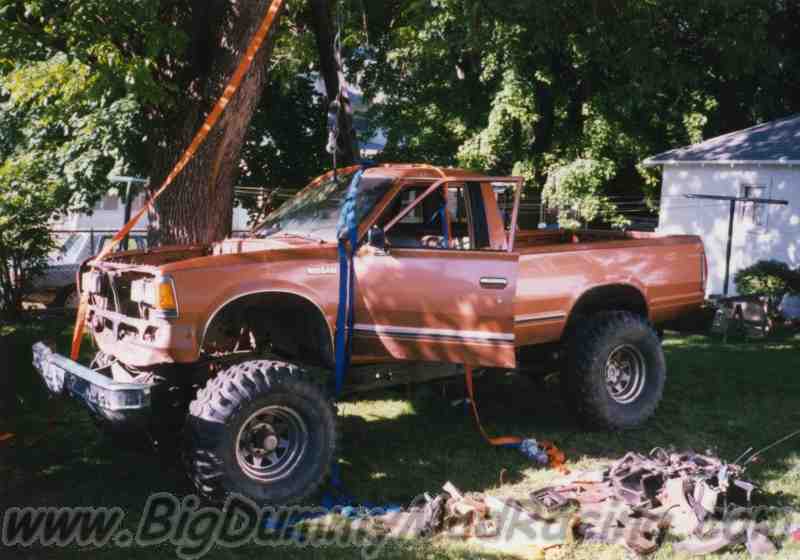 |
| Here you can start to see what the finished product will look like. | 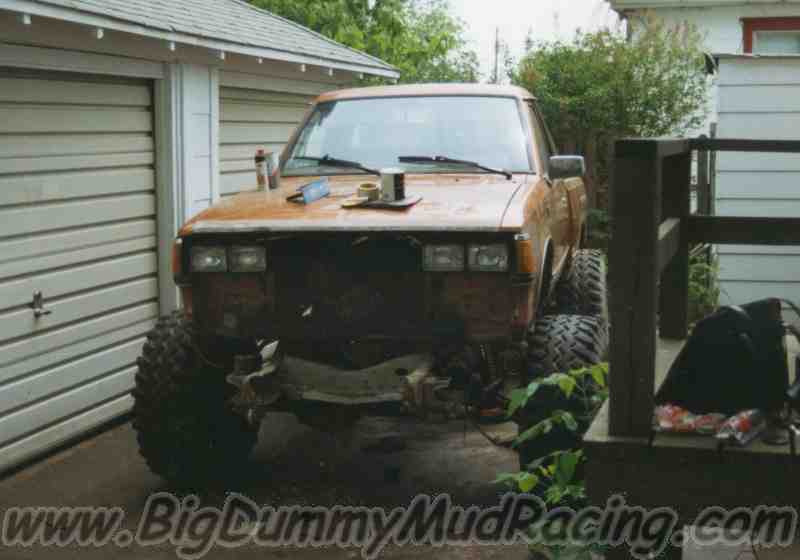 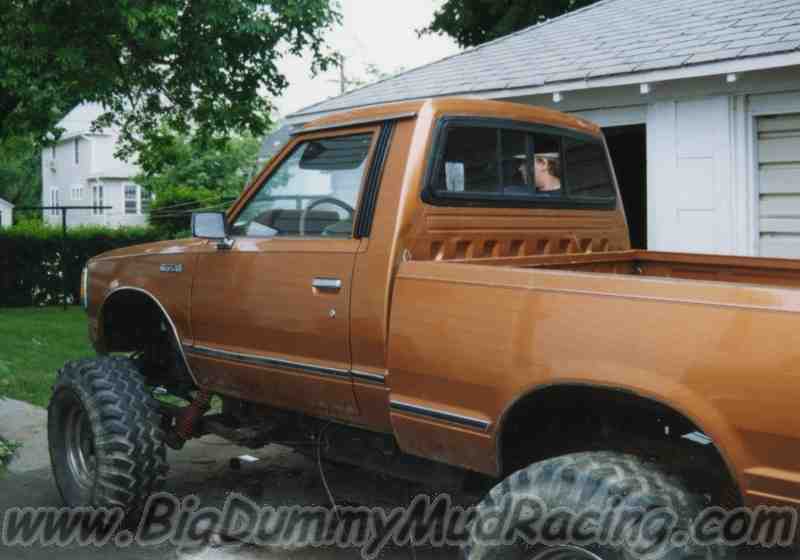 |
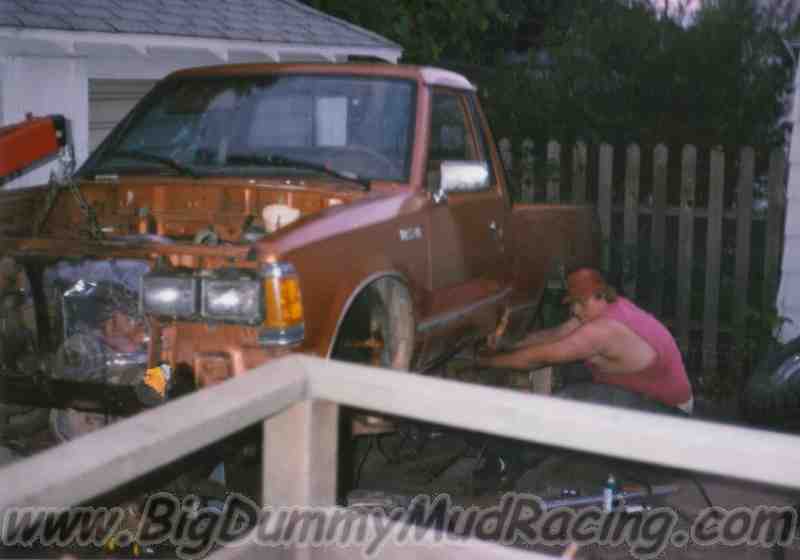 |
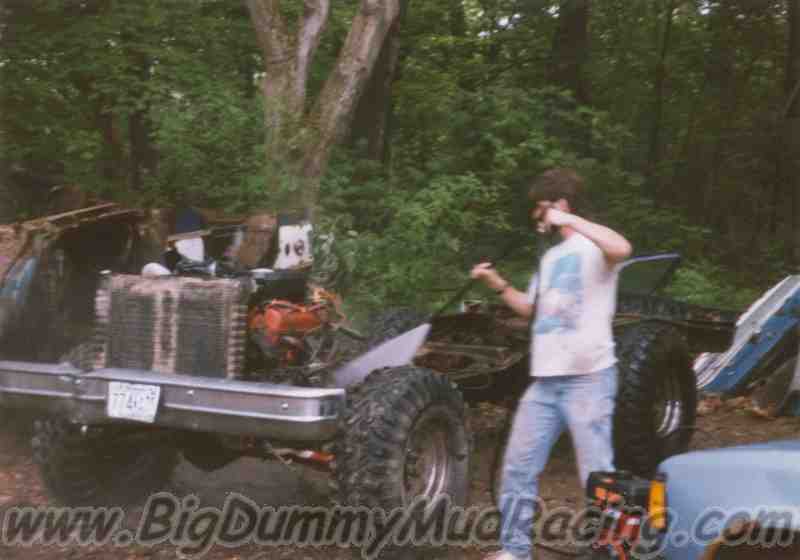
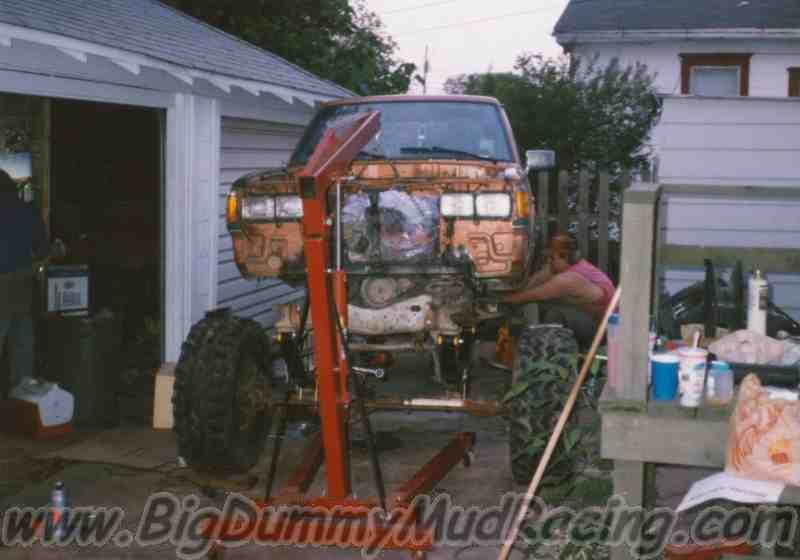
After the body was set on top of the frame, we rolled
the truck in front of the garage so that we could start working on
everything else. Jason started working on the drivetrain, and installing
the 12" Superlift springs, while I started working on the body
mounts.
The front springs came off, and were replaced relatively easily. The rear springs; however, were not so cooperative, and had to be cut off. |
| The front springs were the first to be replaced. The swap went relatively easily, and here you can see how dramatic the arch of the spring is. You can also see that the stock front driveshaft currently is a long way from being able to connect to the front axle. | 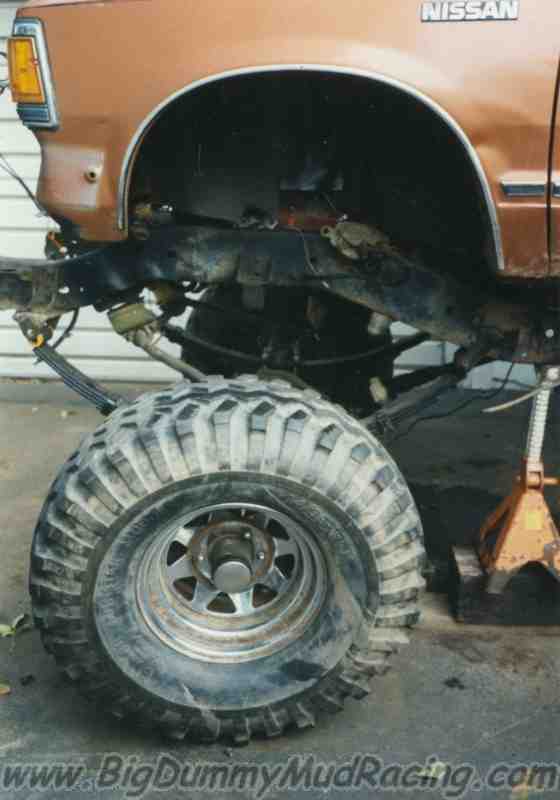  |
 |
The rear springs were next, but were not so
cooperative. They had to be cut off before we could start
installation of the new Superlift springs.
Maybe I inhaled too much acetylene that day, because anyone who grins like that while holding a cutting torch is either dangerous or watches too much Home Improvement. |
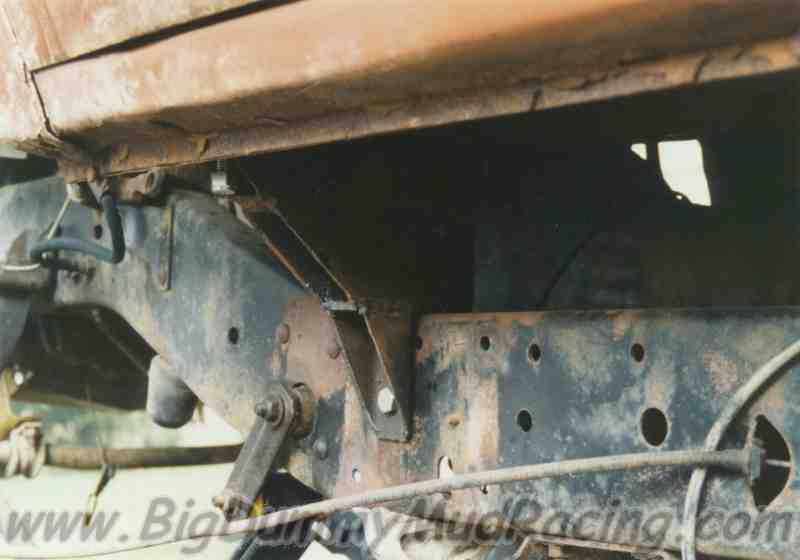
| While we were working on the suspension, we took the opportunity to install a frame reinforcing plate on the section of the frame that the steering gearbox mounts to. Chevy's are notoriously weak in this area, and the stress of trying to turn 44's makes things all that much worse. In fact, our frame had a significant crack in this location that we fixed before we welded on the reinforcing plate. | 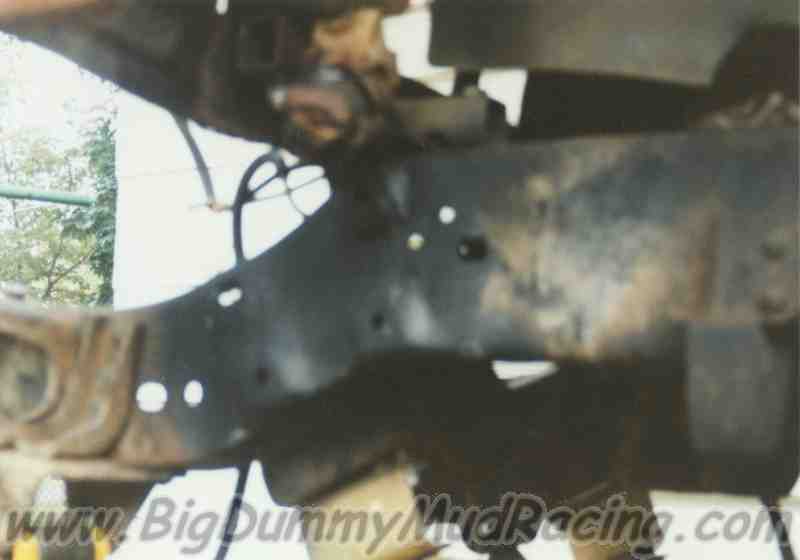 |
| We had originally expected the body mounts to take a couple of weeks. In reality, they took more than a month of weekends to complete. Part of our problem was material - it seemed that we never quite had the right material for the job once we figured out what we wanted to do. One of the hardest parts of the job were the front cab mounts. We were unable to run a support across the frame at this point because of the tranny and t-case. We also had the old body mounts to deal with, and wanted a mount that wasn't ugly or cobbed together. You can see our solution below. We opted to remove the old body mount, and build a tapered block that mounted to the top and sides of the frame. |
   |
| Mounting the body was just about the last thing that we had time (or money) to do during 1996. (though we actually impressed a very experienced 3M engineer with the body mounts) Winter came on before too long, and the truck wouldn't fit into the garage, even if there was space for it. |
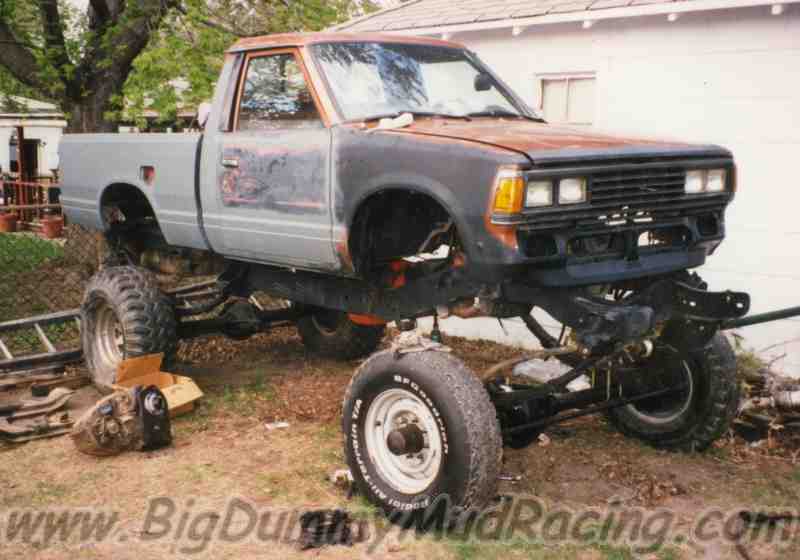
| With the arrival of the spring of '97, we set our sites on finishing the truck for Memorial Day. Aside from tying up some of the loose ends, we started focusing on the drivetrain. We knew that the old 1/2 ton equipment just wouldn't hold up to the torture of 44's, and a good motor. During the winter I had picked up a '70 3/4 ton with a NP205 transfer case, and an Eaton ho72 rear. These parts were combined with a Dana 60 front end and a 4.56:1 3rd member for the rear (to match the gears with the front). We would have gone with higher gears, but 4.56 is the highest that was ever made for the ho72. |
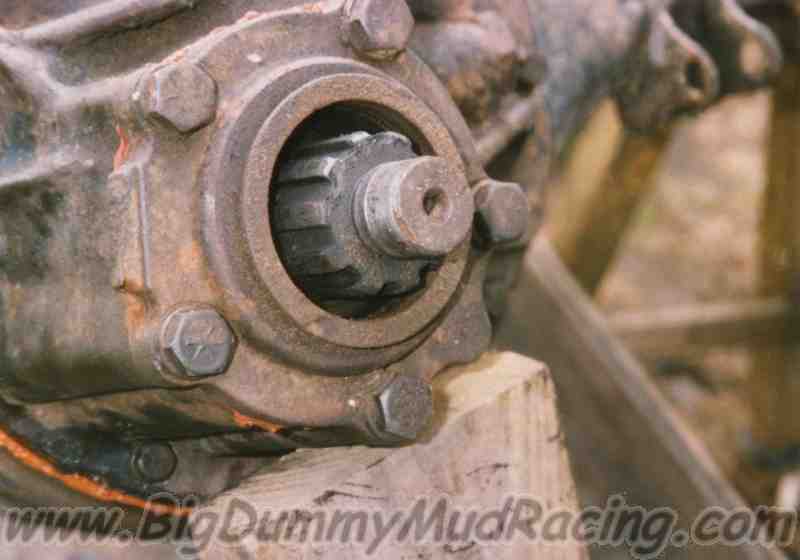
| Our first step in the drive train was to refurb the Dana 60. We had a bit of work to do even though it came from a working truck. Originally the axle was set up with dually spacers. We didn't want the extra space, so we traded the outer assemblies for non-dually units, but we did need to reassemble the axle. While we had the axle apart, we replaced a number of worn components, and ended up with a like new axle. Once the axle was ready, we removed the old Dana 44 front end, and put in the Dana 60. Unfortunately, the threads in the differential casting had been stripped when the axle was removed from the donor truck, and the holes needed to be retapped, and helicoiled. We then installed B7 threaded rod (between grade 5 & 8) with plenty of loctite to act as studs and prevent restripping the holes. | 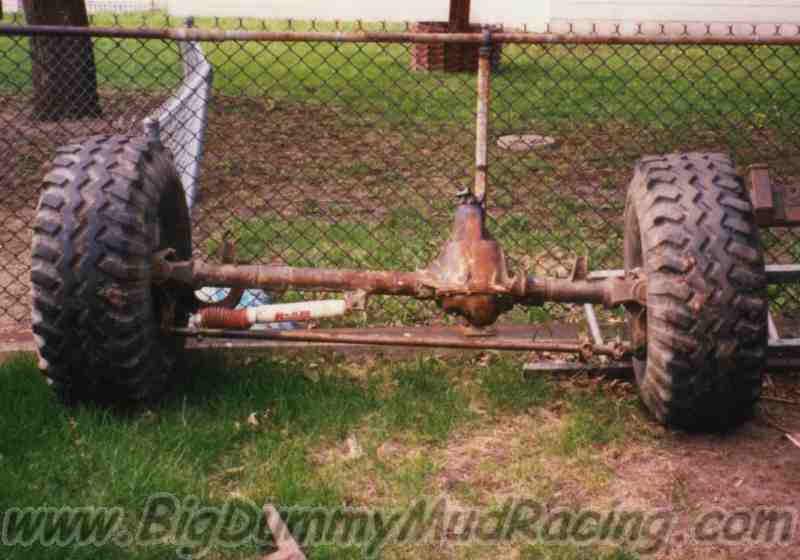 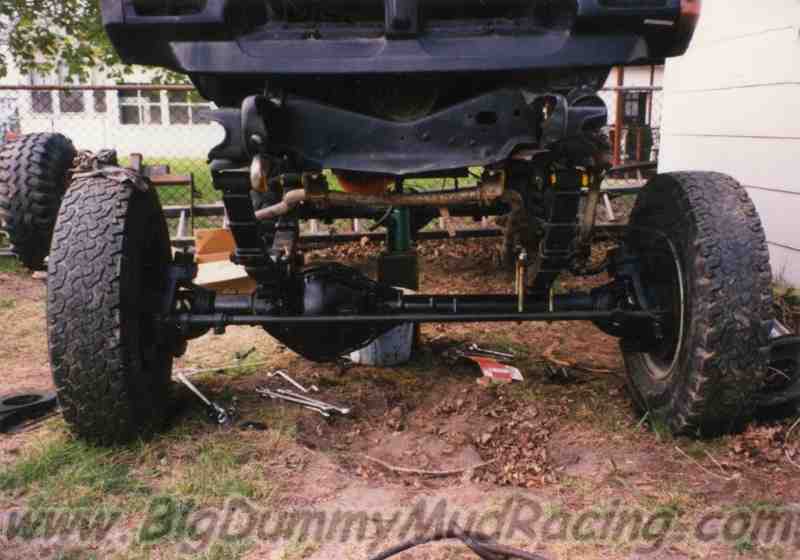 |
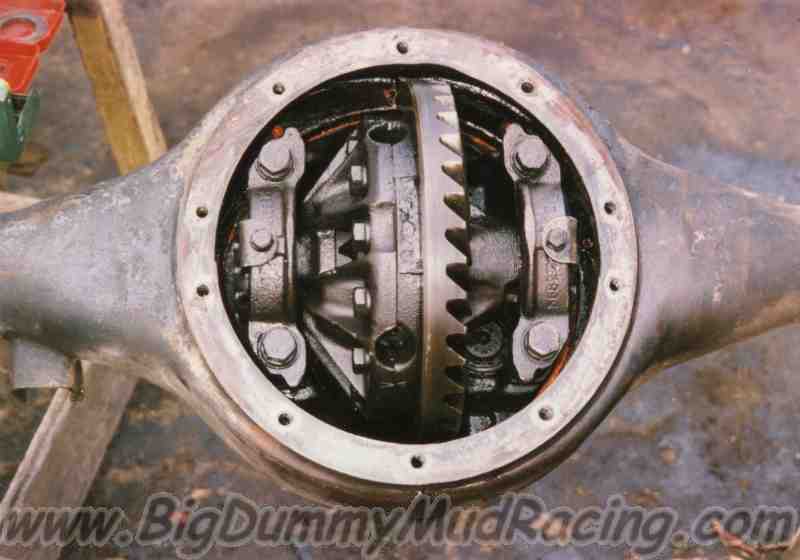  |
The rear end was next, and ended up being a lot more work than we bargained for. We started the same as we had done the front end. We disassembled the axle, went through the components, and replaced anything that was not up to par. Then we dropped the 4.56:1 3rd member in, installed the axleshafts, and threw on a couple of tires to aid installation. We then removed the old 12 bolt rear end, and placed the ho72 only to find that the distance between the spring perches was different. This forced us to cut the old spring perches off of the axle, and weld on our own. In total this took about 4 days, but it was 4 days that we needed to spend working on other areas. |
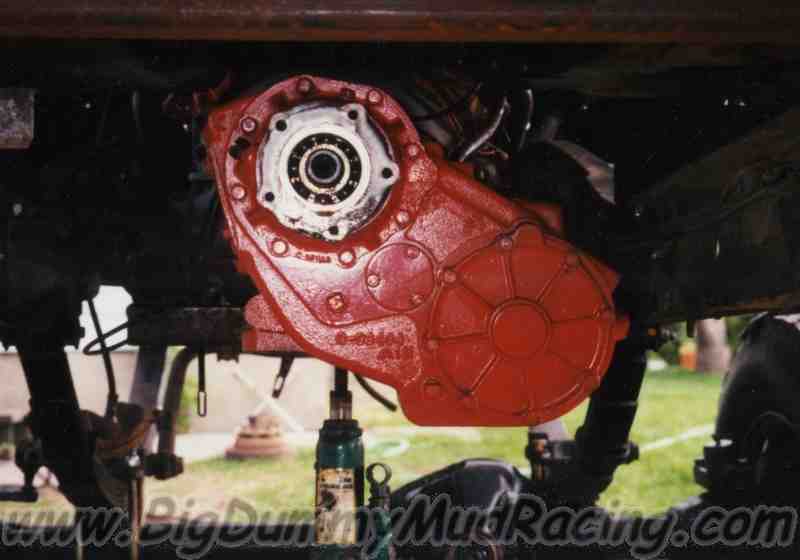
| We also installed the NP205 transfer case out of the
'70. The swap wasn't too difficult since we had all of the brackets and
adapters from the donor truck. Around about this time, the driveshafts
came back from the drivetrain shop, and we test fit the shafts. The
front shaft was very near it's travel limit, and we were forced to shim
the transfer case up (to reduce the driveline angle). We also had to add
8° of shim to the front axle** and remove the 2 smallest leaves from
the front springs. With those modifications, we had no problems with the
front end. **NOTE: Under nearly all circumstances, shims or blocks should not be added to the front axle. Since this is a mud truck only, we were willing to sacrifice some steering geometry. We also took precautions to assure that the axle would remain properly located |
 |
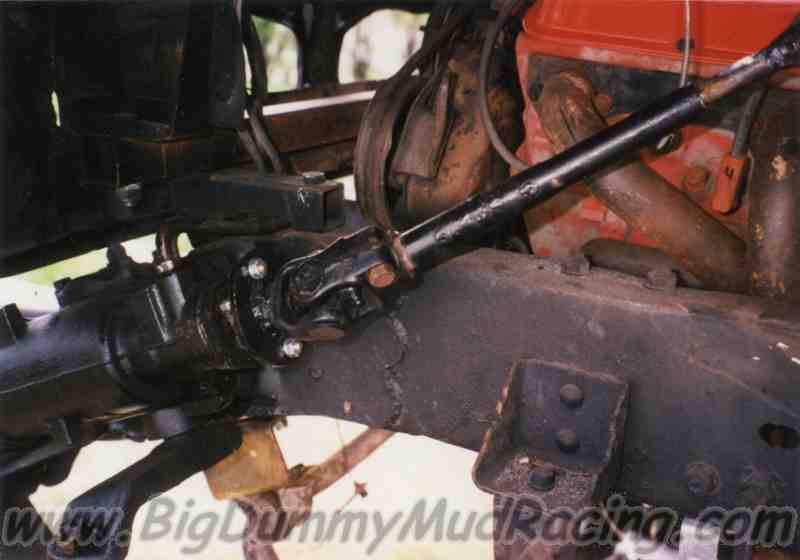 |
Just to show that we are for the most part non denominational, this lower u-joint in the steering system was borrowed from a '72 International Scout. |
| Here are the "brains" of the operation. We run an MSD-6A ignition (the same one used in Winston Cup cars), with a high output coil. | 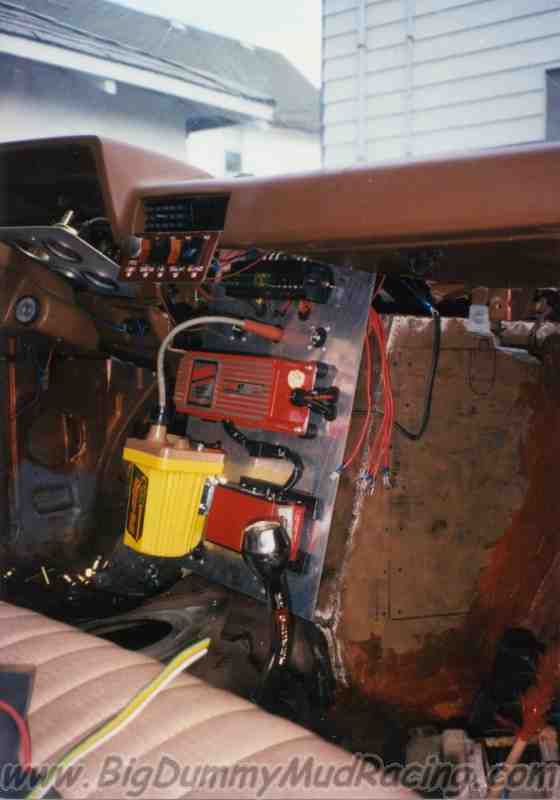 |
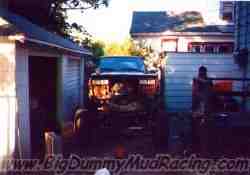
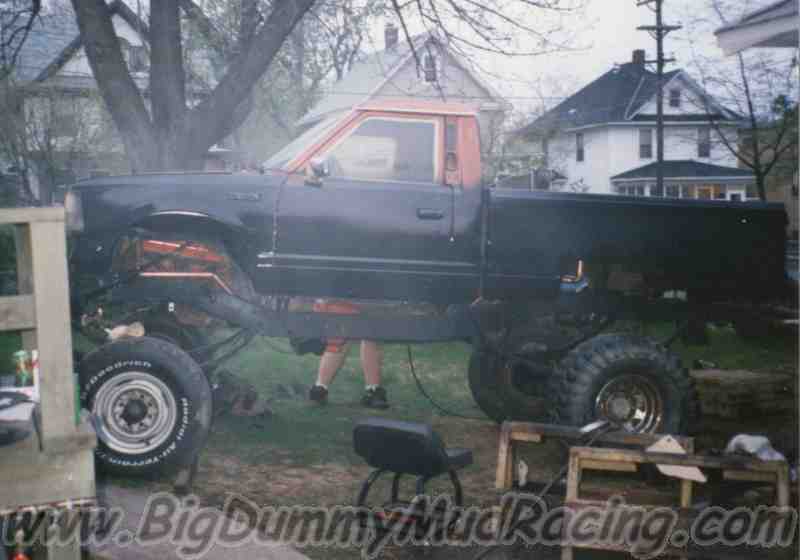
| Amidst the majority of the last minute drive train work, the bodywork was being finished. After touching up some cosmetic blemishes, the truck was ready to be one color... Black, of course! |
   |
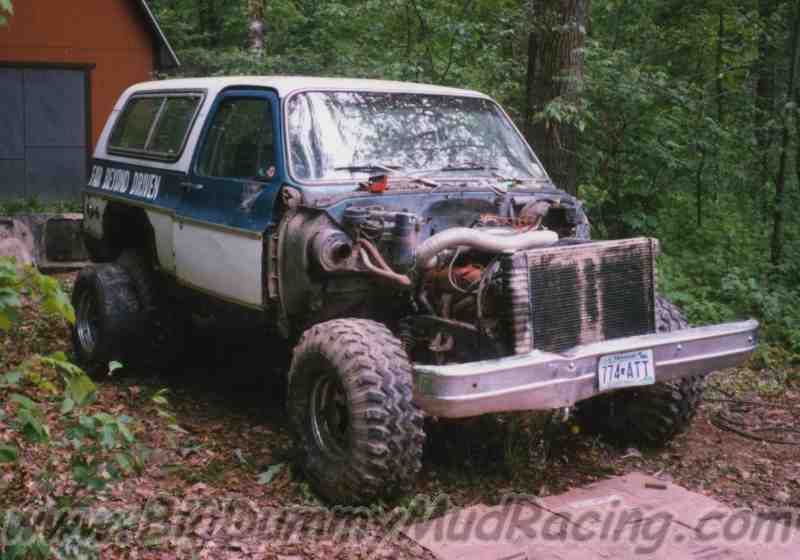
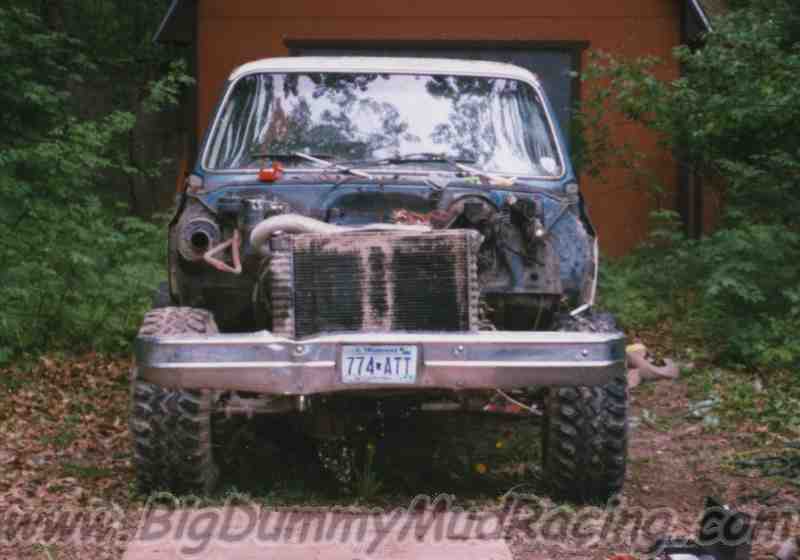
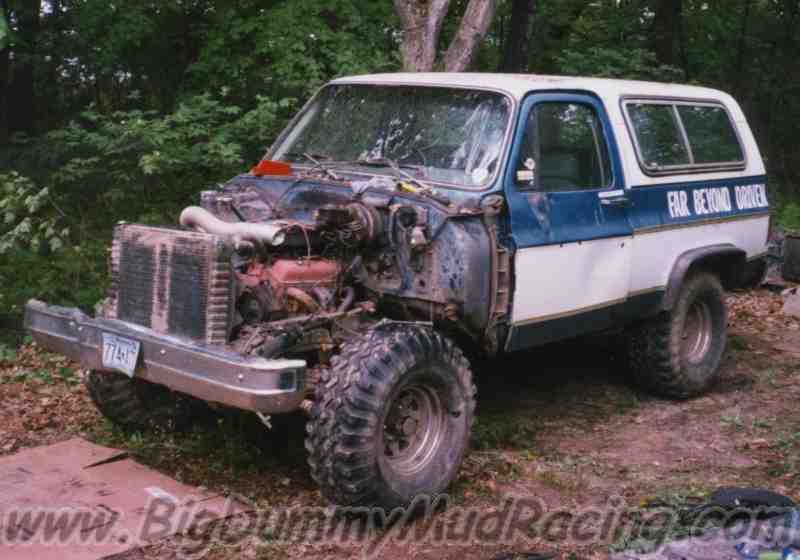
| Though I don't have any pictures of it, the cooling system (almost completely Jason's handiwork) deserves mention. We placed the radiator in the back of the truck so that it would stay clean. Between the radiator and the water pump, we run 1-1/2 inch copper pipe with soldered fittings to work around the frame and other obstructions, which are connected to the frame using rubber exhaust hangers. We connect at each end with a short section of rubber hose for flexibility. The system as a whole works flawlessly, runs cooler than most street trucks, and holds up to the all the abuse we can dish out. |
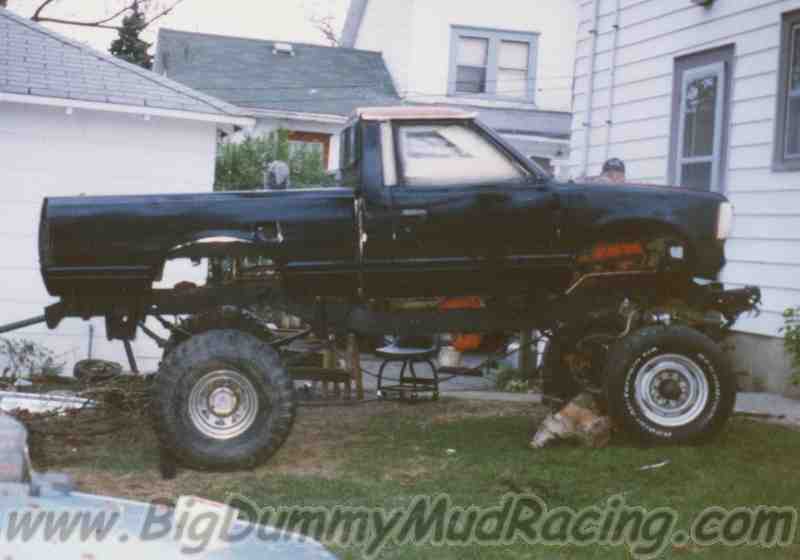
The final product
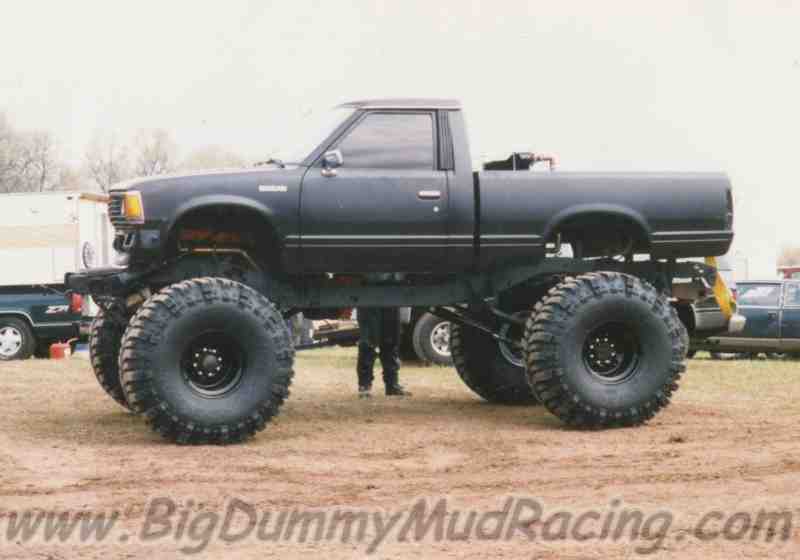
| Motor: | '68 Corvette 350, Edelbrock Victor intake, 298H Comp cam, |
| Frame: | '77 Chevy Blazer |
| Body: | '86 Datsun pickup, approximately 8 inch custom body lift (to fit the motor under the hood) |
| Drivetrain: | 12 inch suspension lift, TH350 transmission w/ 3000 rpm TCI stall, NP205 transfer case, Dana 60 front axle (full time hubs) w/ Dana PowerLock, Eaton ho72 rear axle w/ welded posi, 4.56:1 axle ratios, Heavy duty driveshafts w/cv joints @ t-case end. |
| Wheels: | 44/19 x 16.5 TSL Swamper Boggers on Bart rims |
Click here to check out Highlander's first time out!